You can crop or “cut” an image in Inkscape in ways similar to raster programs such as Photoshop or Gimp.
The process is easy and will sometimes be quicker than working with pixel-based software.
How to crop an image in Inkscape?
To crop an image in Inkscape, use any of the following methods:
- Clipping: Use shapes, objects, or paths to crop or “cut” an image to a custom shape
- Masking: Crop using any vector object while also adding gradients and blur
- Pattern: Use handles to crop and convert to path to sculpt your cropped or cut image
In this complete, step-by-step tutorial, I show you 17 ways in which you can use Inkscape to crop both pixel and vector images.
If you want to know more about vector graphics and what you can do with Inkscape, check out these definitive posts:
Let’s get started.
Get Your Free Guide
Design Fundamentals for AI Creators
Learn how to use AI tools like a creative director, not just a prompt writer.
Discover the essential design principles that make your AI-generated visuals look professional, balanced, and brand-ready.

Method 1: Crop an Image by Clipping
The clip operation in Inkscape lets you place a vector shape, object or path on top of an image in order to “clip” or cut a portion of that image according to the shape used.
It’s like using a cookie cutter to create a cookie from dough.
With clipping, you can crop in Inkscape by using regular shapes, objects such as text, or paths.
1. Clip Using Shapes
This first method for cropping images allows you to cut out a shape using Inkscape.
How do you cut out a shape in Inkscape?
By creating geometric shapes and then clipping your image, you can easily cut out any shape you want on a jpeg or any other raster file, including circular, rectangular, triangular, and elliptical shapes.
Here’s how to do it:
To clip an image (assuming you’ve imported your image to Inkscape), first create the shape you’ll be using to clip or “cut” your image. You can use squares, circles, stars, or any other shape).
Next, place the shape on top of the image in the area you wish to crop, and select both the image and shape, like so:
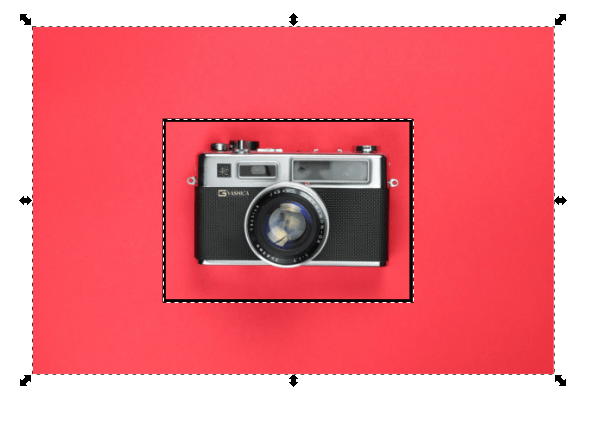
Note that the clipping shape or object always goes on top of the image to be clipped.
Now, go to Object > Clip > Set to apply clipping and crop the image.
The image is now cropped according to the shapes you use to clip (in this case, a square):
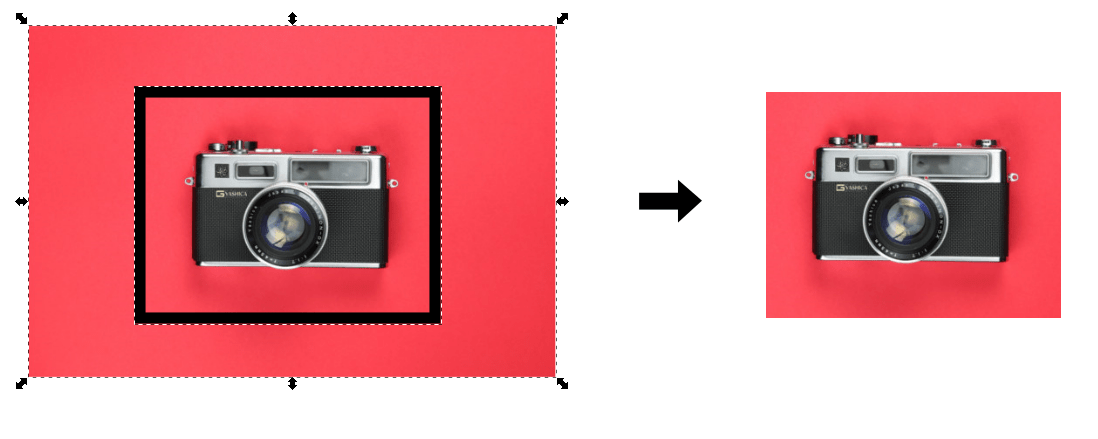
You can also use circles:
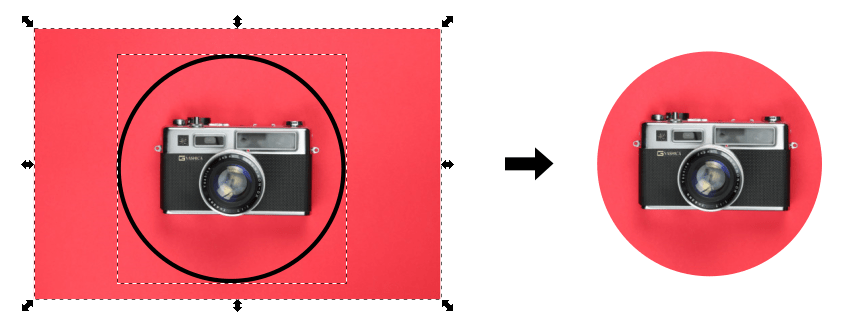
You can use polygons and stars:
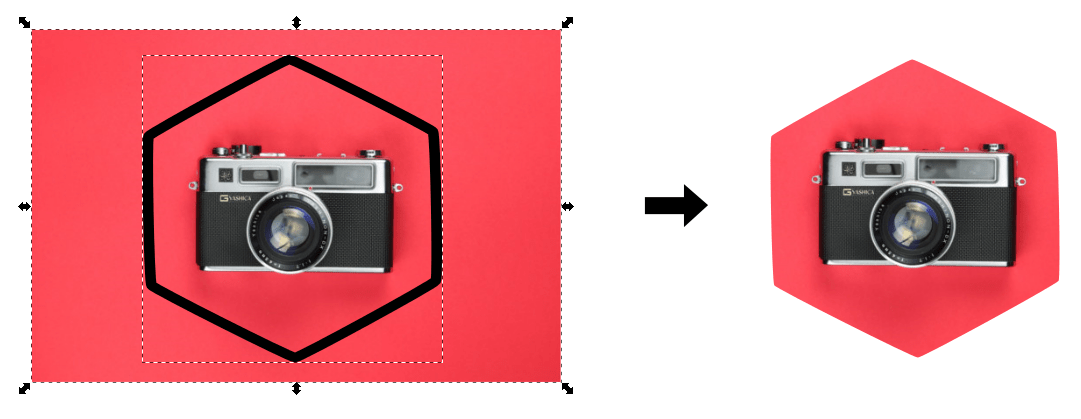
You can even use a vector object, such as text:
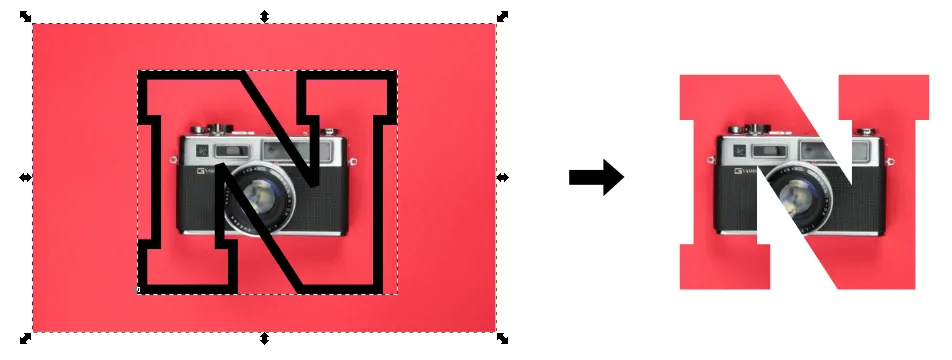
In addition, you can use multiple shapes or paths for cropping images in Inkscape.
2. Clip Using a Path
Instead of shapes, you can also create your own path in order to crop in Inkscape.
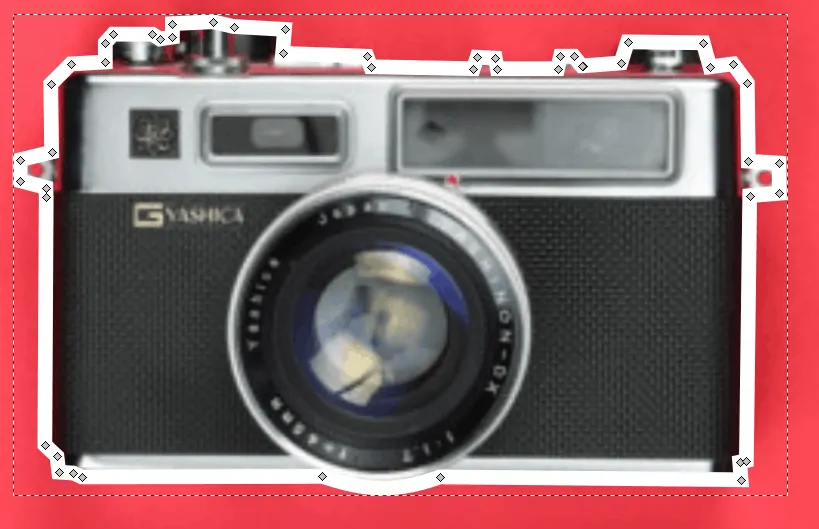
One way to do this is to use the Pen Tool (or any drawing tool, such as Pencil) to carefully draw around the shape you wish to crop.
The more patient your are, the more precise the crop. Remember that you can also sculpt the nodes of the path for even more precision:
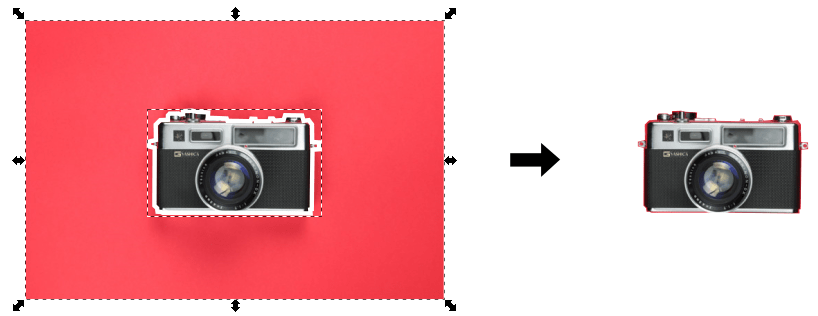
Now, you can go to Object > Clip > Set to crop your image:
Method 2: Crop an Image by Masking
Masking works in a way very similar to clipping, but with some important advantages.
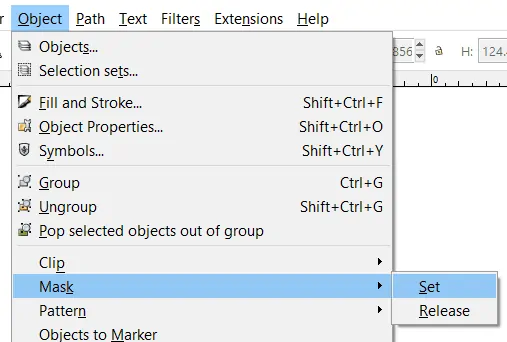
First, access the tool in Object > Mask> Set :
Like clipping, you can use masking with shapes, objects, and paths, like so:

HOWEVER, masking allows for gradients and blurs to modify the cropping in special ways. This means you can crop images with feathered edges or translucent areas.
This is the main rule with masking:
- The part of an object with white fill or border will allow the object beneath to be visible.
- The part of an object with black fill or border will block any part of the object beneath it.
- Anything in between (all shades of grey) will become gradually transparent, with corresponding effects on the object beneath.
Let’s take a look at some examples of masking:
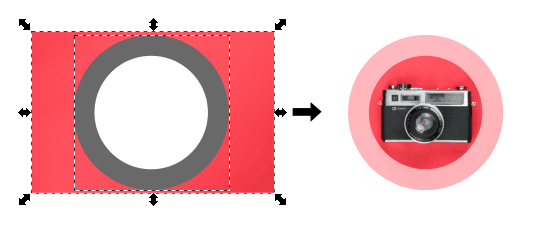
You can mask an object by using regular shapes or paths and using different shades of grey in their border or stroke.
Here, I’m using a thick grey stroke on a white circle:
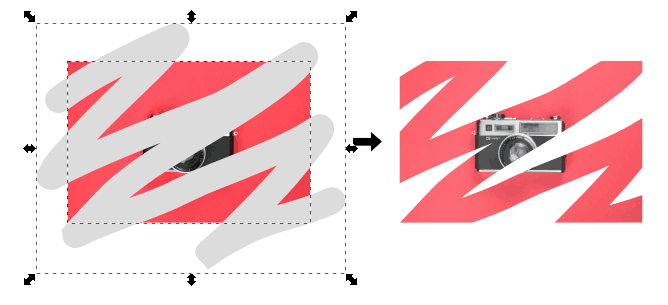
Here, I use the calligraphy pen on the marker setting to draw a grey stroke over the image:
Remember that you can use any shape, stroke, or path.
Furthermore:
You can play with shapes and shades of grey to create even more awesome image cropping, like this:
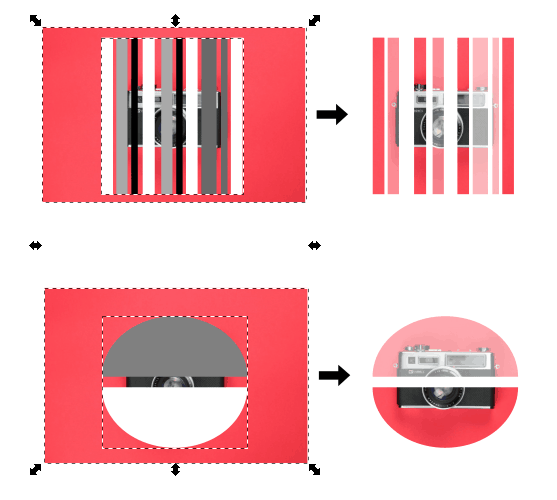
Just be sure to group objects (CTRL + G) before masking.
Here’s another great feature of masking in Inkscape:
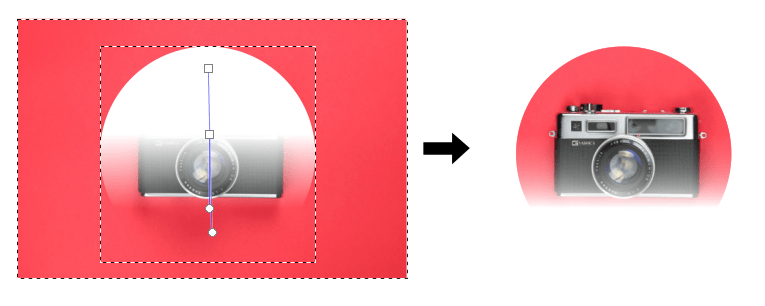
You can play with gradients and blur to create interesting image cropping. Here, I’m using a simple gradient to mask my image:
Next, I’m using gradients with different stops, applying black and grey to gradient nodes:
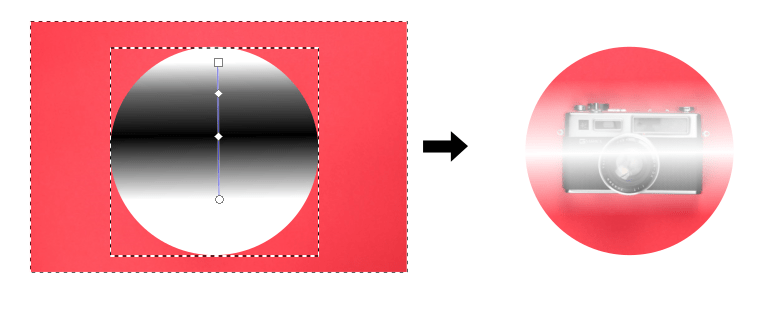
Finally, you can you use masking, a shape, and a simple blur to crop an image in Inkscape, like this:
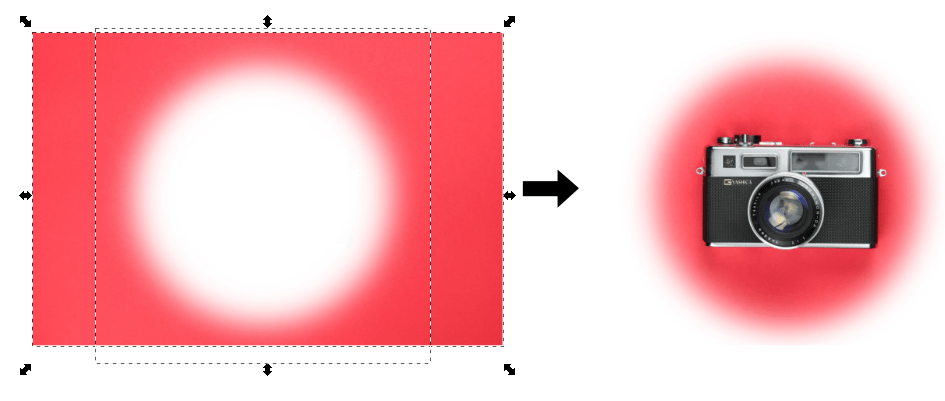
Method 3: Crop an Image by Pattern
The final method you can use to crop an image in Inkscape is by applying a pattern to the image.
You can apply a pattern to an image or vector object by going to Object > Pattern > Objects to Pattern:
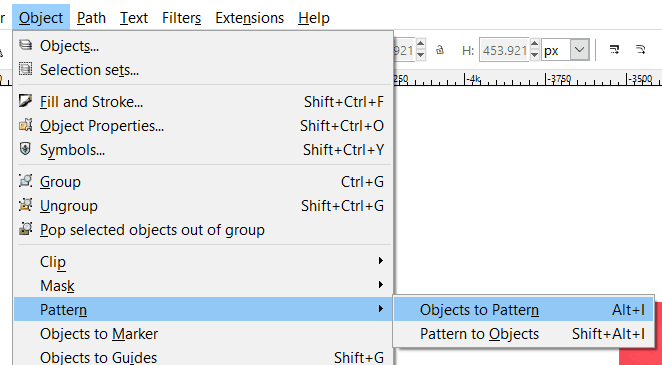
Inkscape then creates a pattern of your image that you can transform by means of special handles similar to those used by the square tool.
To do this, first apply the pattern, select your image, and then select the squares tool to show your new editing handles:

Now you can play a little with the nodes and handles to crop your image in interesting ways:
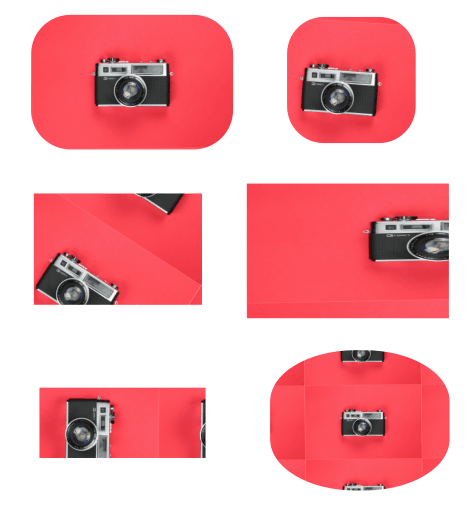
Cropping an Image in Inkscape is Easy
Cropping an image in Inkscape can be very convenient for several reasons:
- It’s easy to apply
- It’s convenient not to use a raster program such as Gimp or Photoshop, as you work in a vector program
- It’s quick and efficient
Now you know 3 different methods to crop an image in Inkscape and 17 different ways you can use them.
Which one are you going to use and how?
Free eBook
Design Fundamentals for AI Creators


